Is Your Soledad Stucco Ready for Paint?
So, you're eyeing your stucco and thinking it's high time for a fresh coat of paint. Maybe all that Soledad sunshine has faded it out, or you're just itching for a new vibe. That's a super common thought for homeowners around here, believe me. But before you even *think* about grabbing a brush, you've got to ask yourself: what kind of shape is that stucco actually in?
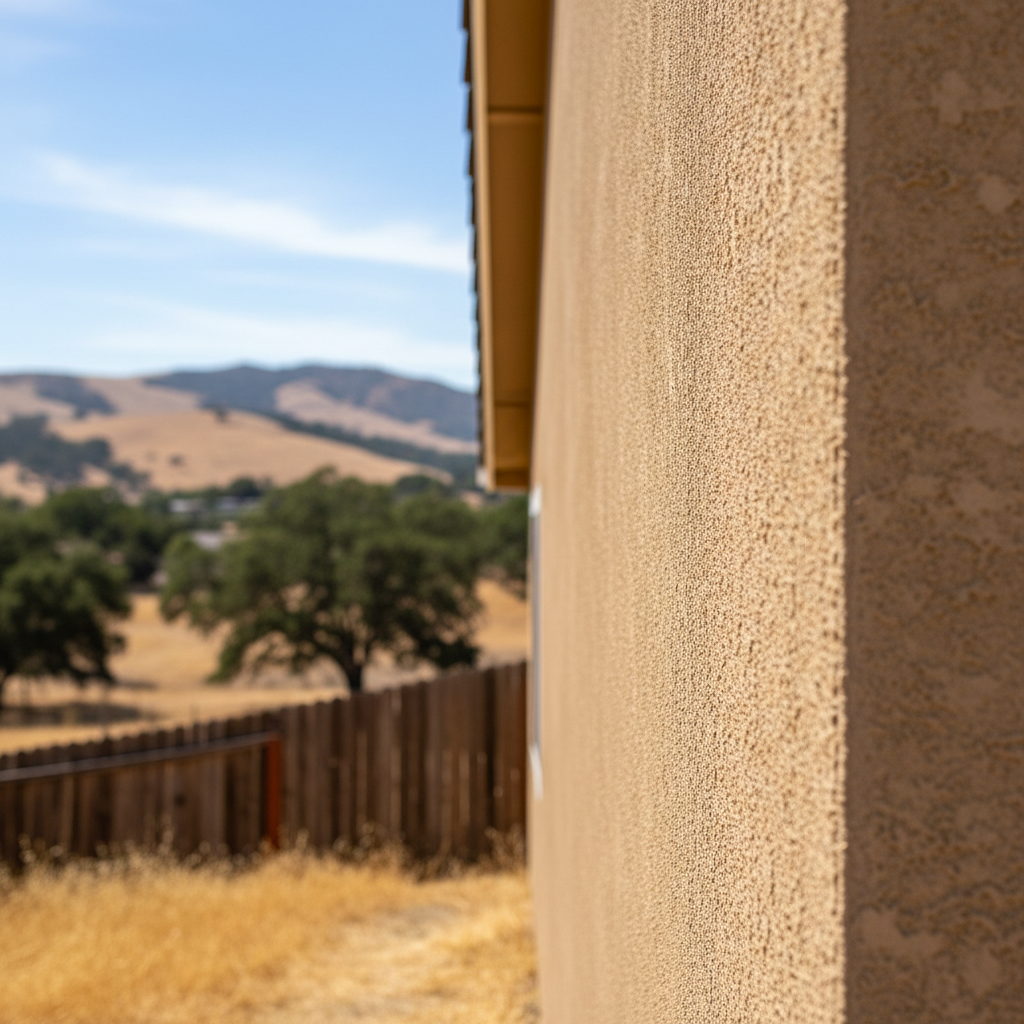
Painting over bad stucco? That's like putting lipstick on a pig – it just won't fix the real problem underneath, and honestly, it'll probably look even worse down the road. I've seen it happen countless times. You really need to give it a good, thorough inspection. Walk all the way around your house, get right up close. Are there cracks? Even hairline ones? Do any areas feel soft, or sound hollow when you tap them? Spot any water stains, mold, or mildew? If you find anything more than just a little surface dirt, you're probably looking at repairs first. And that, my friend, is usually where most DIY projects hit a wall.
When DIY Makes Sense (and When It Doesn't)
If your stucco is in pretty decent shape – maybe just a bit dirty, a little faded, with no big cracks or water damage – then painting it yourself is totally doable. It's a big job, no doubt, but it's not exactly rocket science. You'll save some cash on labor, and there's a certain satisfaction that comes from doing it yourself, isn't there?
Here's what you can realistically tackle:
- Cleaning: A good power wash (but on a low setting, okay? You don't want to blast the stucco right off!) with some mildew cleaner is usually the first step.
- Minor Patching: Small, hairline cracks? You can often fill those with an elastomeric stucco patch. Just follow the directions carefully.
- Priming: If your stucco has never been painted, or you're going from a dark color to a light one, priming is a must. Grab a high-quality alkali-resistant primer.
- Painting: With the right tools – good exterior paint, rollers with a thick nap (like 1-1.5 inches for that stucco texture), and brushes for trim – you can definitely get a good finish.
Now, when should you absolutely, positively call in a pro? If you've got:
- Extensive Cracking: Anything wider than a credit card, or a whole spiderweb pattern of cracks, means you've got bigger issues brewing.
- Water Intrusion: Stains, soft spots, or efflorescence (that white powdery stuff) are all screaming that water is getting inside. Painting over this will just trap moisture and cause even more damage.
- Stucco Delamination: If parts of the stucco are actually separating from the wall, you need professional repair, not just paint.
- Hard-to-Reach Areas: Two-story homes, really steep eaves, or complex architectural details often need specialized equipment and safety training. Seriously, don't risk a fall for a paint job.
For these bigger problems, you're not just painting; you're into serious stucco repair. And that, my friend, is our bread and butter here at Charis Stucco. You want someone who really knows how to properly fix the underlying issues so your paint job actually lasts.
Prepping Your Stucco for Paint
Alright, let's say your stucco passed the inspection with flying colors and you're going the DIY route. Prep is everything. I mean it, don't skimp here. I've watched folks rush this part, and their paint job looks absolutely terrible within a year.
First, get that stucco clean. Use a pressure washer on a low setting (around 1200-1500 PSI) with a good exterior cleaner, especially if you've got any mildew or dirt built up. Rinse it thoroughly. Then, let it dry completely – and I mean *completely*, usually 2-3 sunny days here in Soledad, particularly if it's been damp. After that, patch those minor cracks. Use a flexible, elastomeric patch made specifically for stucco. Once it's patched and dry, tape off absolutely everything you don't want painted: windows, doors, trim, light fixtures. Lay down drop cloths. This takes time, yes, but it'll save you a ton of cleanup later.
Choosing the Right Paint and Application
This isn't the spot to cheap out, trust me. You need a high-quality exterior acrylic latex paint. Look for ones specifically made for stucco or masonry. They're designed to breathe, stay flexible, and resist alkali, which is super important for stucco. Elastomeric paints are even better if you've got a lot of hairline cracks, since they stretch and bridge those small gaps. They're thicker, so they're a bit harder to put on, but they offer fantastic protection.
When you're painting, use a roller with a thick nap – 1 to 1.5 inches – to really get into all those stucco textures. Don't try to roll too fast; let the roller do the work for you. You'll probably need two coats for good coverage and durability. For corners, edges, and around trim, grab a good quality brush. If you're using a sprayer, make sure you back-roll with a thick-nap roller to push the paint into the texture and ensure it sticks well. This step is crucial for a lasting finish.
After the Paint Dries: Maintenance
Once your beautiful new paint job is dry, give yourself a well-deserved pat on the back. But the work isn't quite over. Keep an eye on your stucco. A regular cleaning with a garden hose and a soft brush can help stop dirt and mildew from building up, especially on the north-facing sides of your house that don't get as much sun. If you spot any new cracks or issues, deal with them quickly. Small problems are always easier and cheaper to fix than big ones, right?
Painting your stucco can really give your home's look a boost. Just be honest about your stucco's condition and your own DIY skills. If it's a simple refresh, go for it. If things are more complicated, don't hesitate to give us a call at Charis Stucco. We're here to make sure your home looks great and stays protected.